Renaming a route in your web application is a common task, but it’s crucial to handle it correctly to avoid breaking links and negatively impacting your SEO. Redirecting the old route to the new one ensures a seamless user experience and maintains your site's search engine rankings.
In this blog post, we’ll guide you through the steps to set up a redirection after renaming one of your pages.
Beyond cryptocurrencies, Blockchain technology offers tools to build secure, transparent applications fully controlled by the user. Building a blog website on the blockchain allows the user to establish a censorship resistant space where they retain full ownership of their content and data.
In this article, we will look at how to create and host your blog website on the blockchain using Juno. Juno is an open-source Blockchain-as-a-service platform that offers a fully decentralized and secure infrastructure for your applications. This article will cover setting up a boilerplate project, configuring the hosting, developing the code for your blog and deploying the project on the blockchain using some of Juno's super powers.
By the end of this article, you will have an understanding of how Juno works, how to host your websites on the blockchain and how to automate the different tasks using Github Actions.
Juno works just like traditional serverless platforms such as Google Firebase or AWS Amplify, but with one key difference: everything on Juno runs on the blockchain. This means that you get a fully decentralized and secure infrastructure for your applications, which is pretty cool if you ask me.
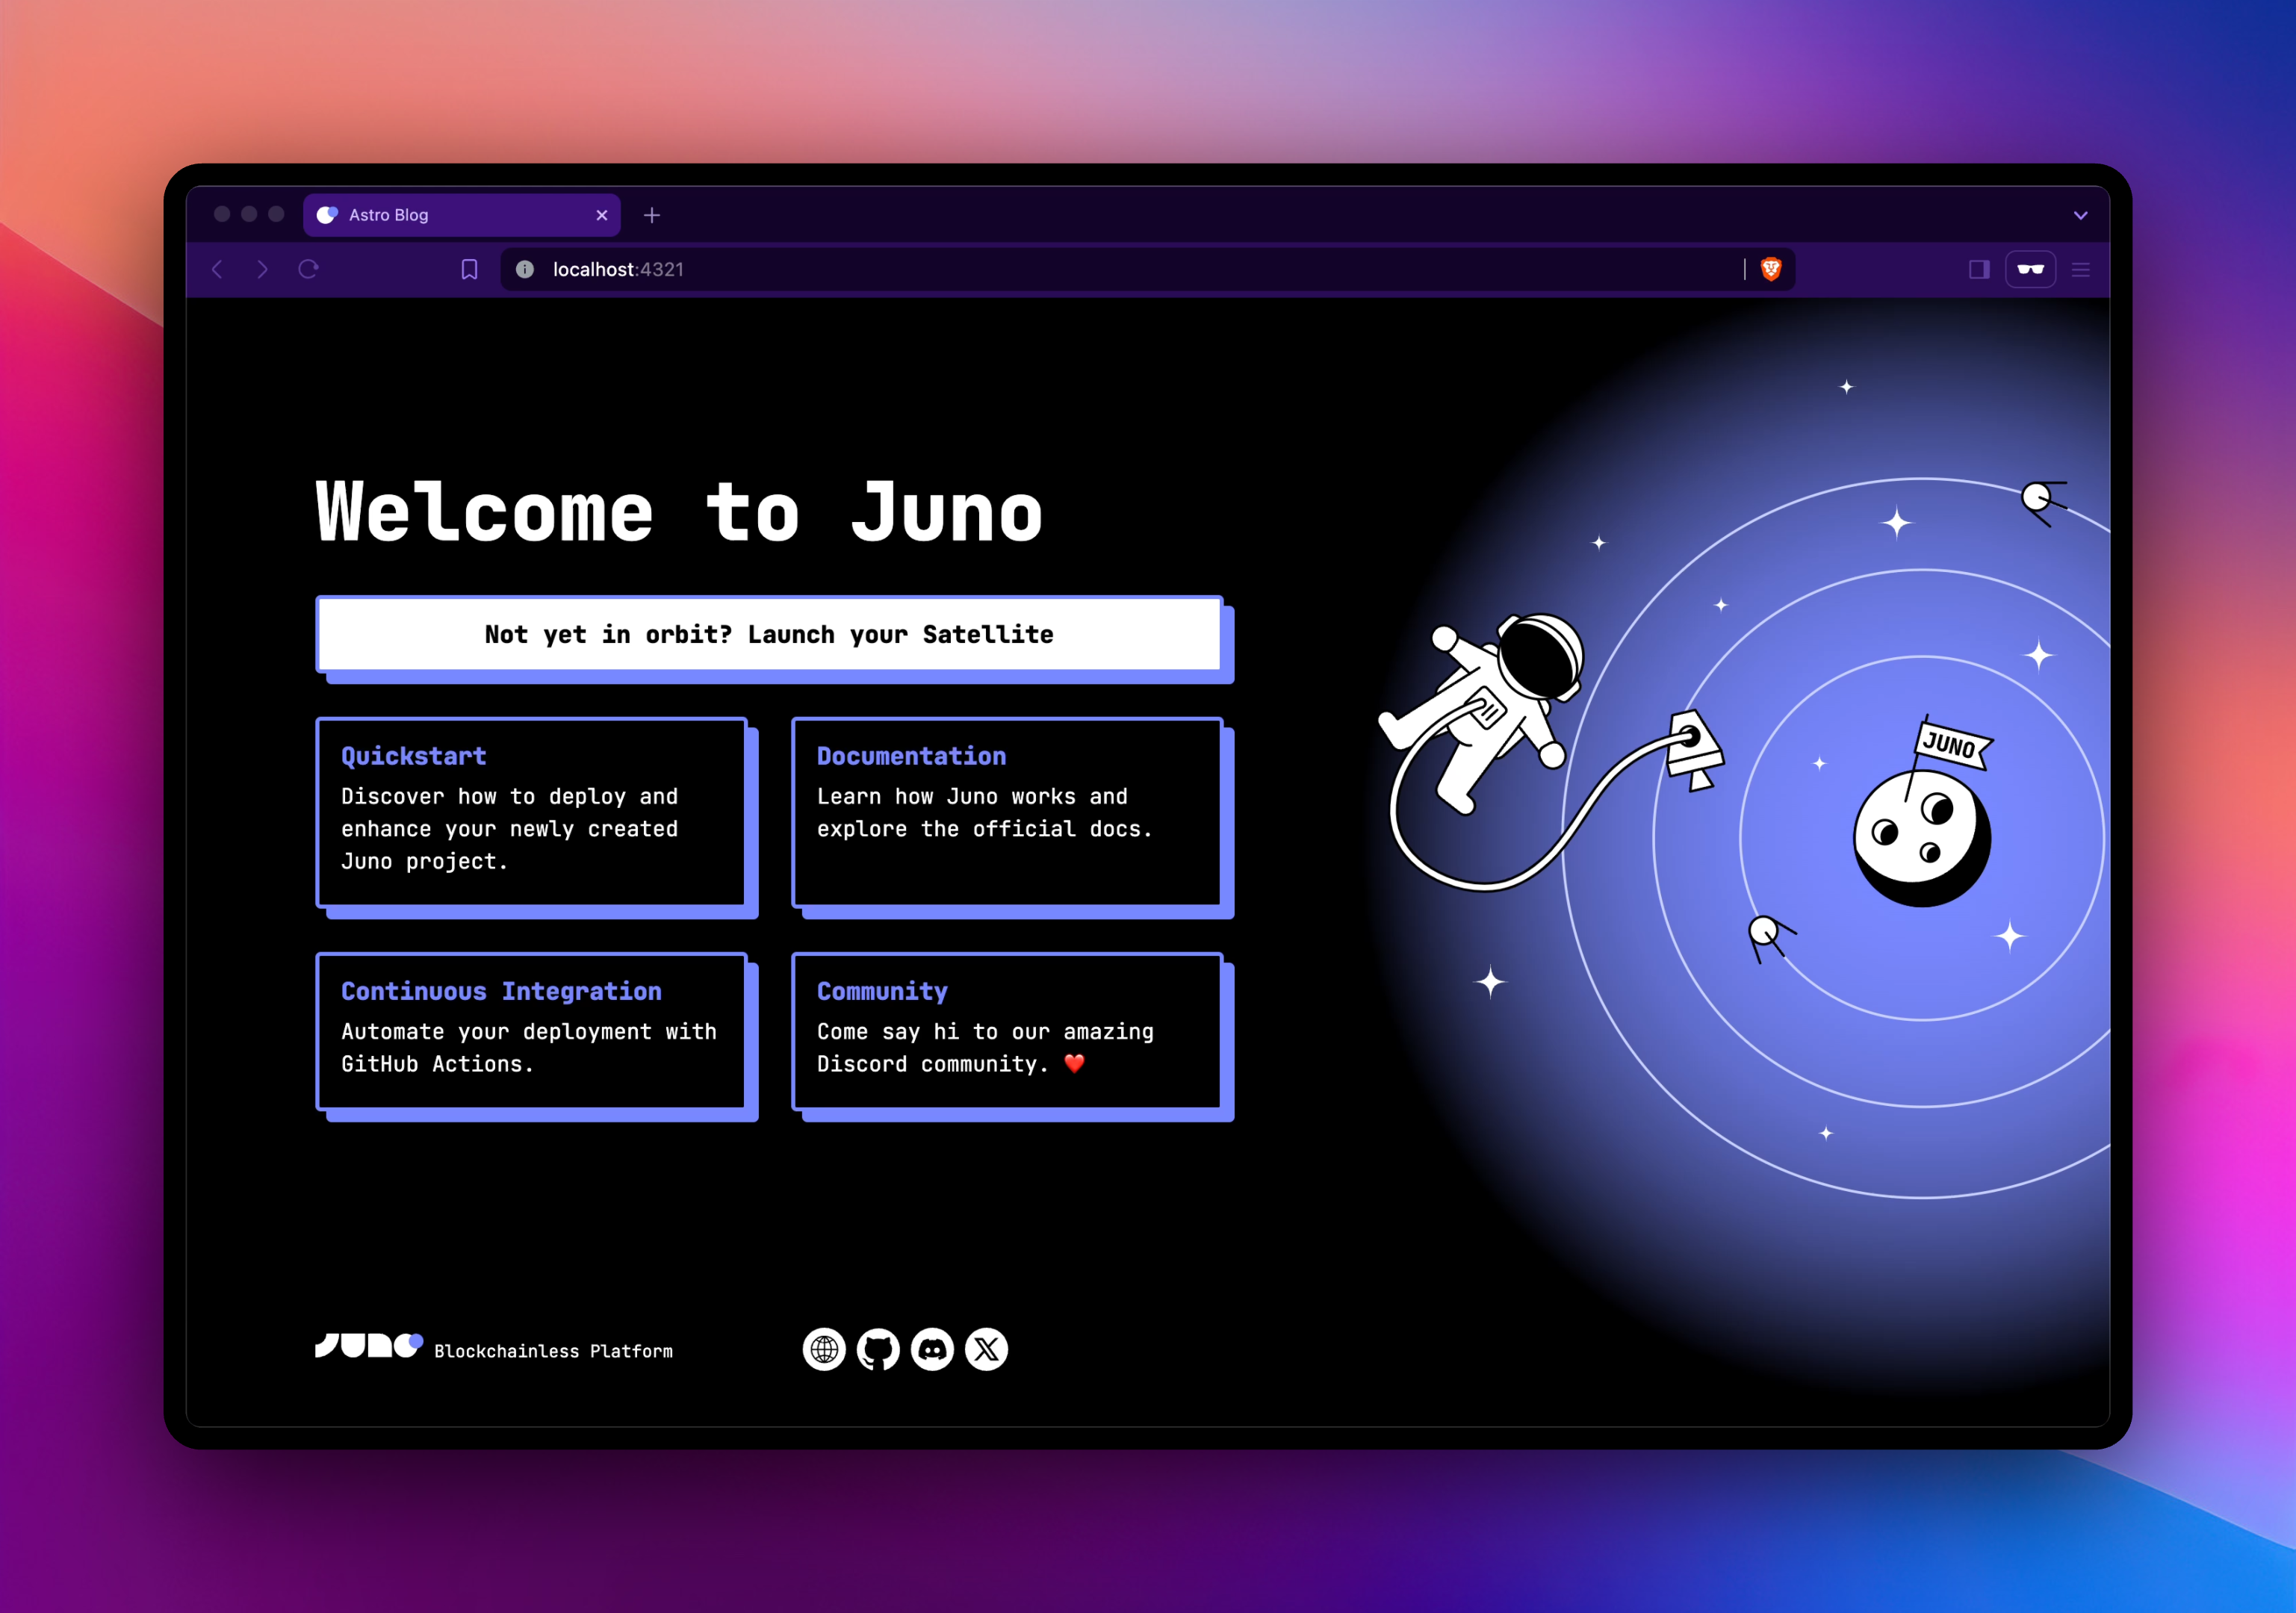
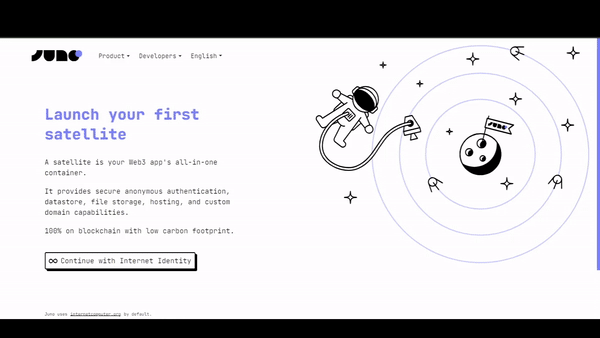
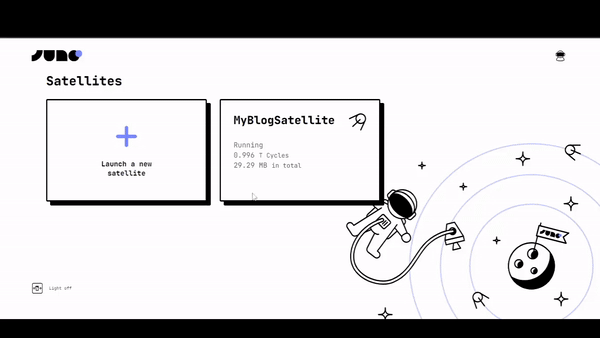
Behind the scenes, Juno uses the Internet Computer blockchain network and infrastructure to launch what we call a “Satellite” for each project you build. A Satellite is essentially a smart contract on steroids that contains your entire app. From its assets provided on the web (such as JavaScript, HTML, and image files) to its state saved in a super simple database, file storage, and authentication, each Satellite controlled solely by you contains everything it needs to run smoothly.
The Internet Computer (ICP) is a blockchain-based platform that aims to create a new type of internet, one that is decentralized, secure, and scalable. Developed, among others, by the DFINITY Foundation, the Internet Computer is designed to serve as a global public compute infrastructure, allowing developers to build and deploy decentralized applications (dApps) and services directly on the blockchain.
Unlike traditional blockchains, the Internet Computer uses a unique consensus mechanism called Threshold Relay, which allows it to achieve high transaction throughput and low latency. The platform is also designed to be highly scalable, with the ability to add more nodes and increase its computing power as demand grows. This makes the Internet Computer a promising platform for building a wide range of decentralized applications, from social media and e-commerce to finance and cloud computing. Learn more about ICP
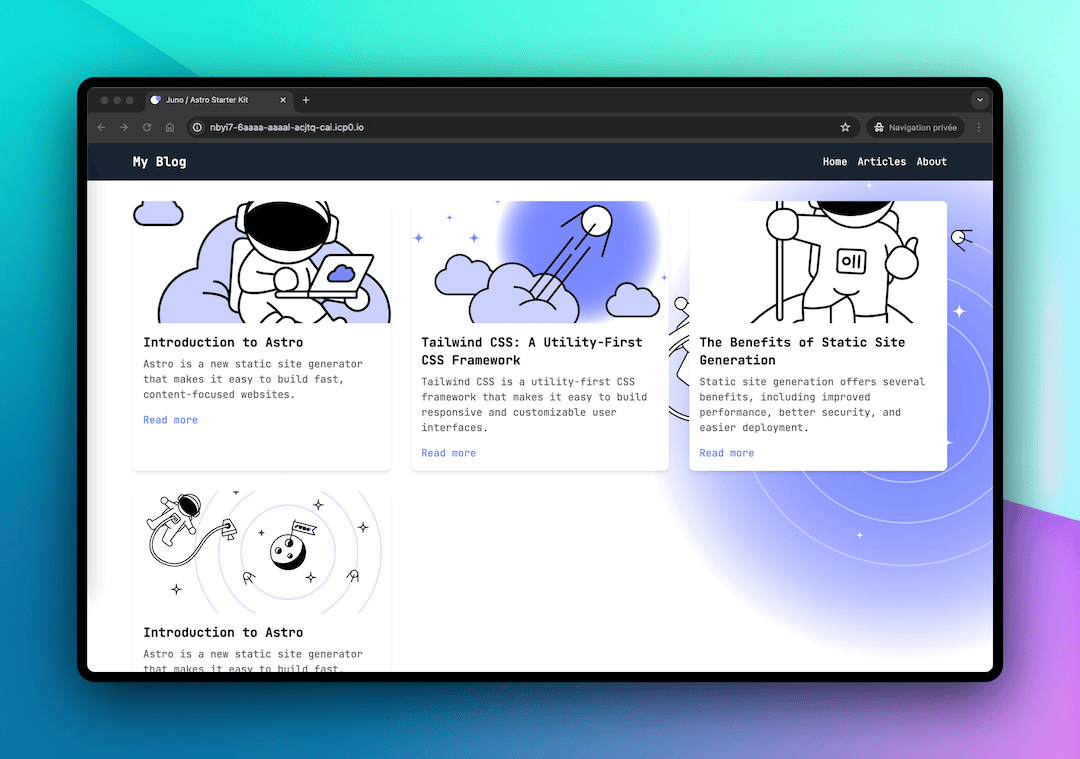
This is a secure and decentralized blog website. The frontend is build with Astro, which is a modern, flexible web framework focused on building fast, content-rich websites with minimal JavaScript. Here is what you will build by the end of thi article:
Select no to configure the local development emurator
Select yes to install the dependencies
Select yes to install juno's CLI tool. Juno CLI will help us to deploy our project in the satellite.
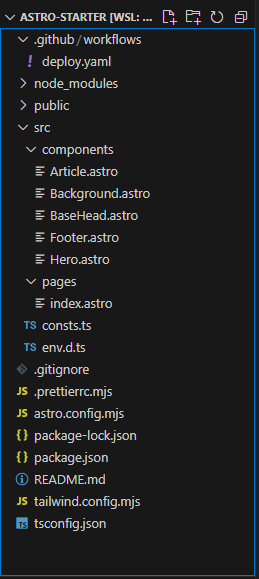
Navigate to the project folder myBlog and open it in your favorite code editor.
If every previous step is successfull, running npm run dev will open the project in your browser and you should have something similar to this.
The above code displays a navbar that has three tabs Home,Articles, and About. It also displays information about the different articles from our sample article data.
To keep the satellite operational, the developer pays a small fee that is used to purchase the necessary cycles for the satellite's storage and computation requirements. Learn more about pricing
We need to link our project to the satellite. follow the steps below
In the project terminal, run the command juno init and follow the prompts
Select yes to login and authorize the terminal to access your satellite in your browser
Select myBlogSatellite as the satellite to connect the project to
Select dist as the location of the compiled app files
Select TypeScript as the configuration file format.
If the above step is successful, a new file juno.config.ts
will be added at the root of our project folder. It contains the configuration necessary for our poject to connect to the satellite. You need this file if your project is to be deployed successfully to the satellite. Learn more about this configuration
Now that we connected our project to the satellite, we have to compile and deploy project to the satellite
npm run build
The above command compiles our project and outputs the compiled files in the dist folder
juno deploy
This will deploy our compiled files to the satellite that we connected linked our project to.
At this stage, if all the previous steps are successful, juno deploy command will output a link whixh is in this format https://<SATELLITE_ID>.icp0.io where SATELLITE_ID is the id of the satellite that we connected our project to.
tip
Running juno open in your terminal opens your project in your favorite browser.
Opening the link in the browser, you should have something like this below
If you have reached this step, well done, you have successfully deployed your first blog website on the blockchain using Juno.
If you noticed in the previous steps, every time we make changes to our project, we have to manually run the commands that compile and deploy our code to the satellite. But in this section, we will learn how to automate these tasks using Gihtub Actions so that whenever we make changes to our project, these changes are automatically deployed to oour satellite
In our project, we have a folder .github which contains the file deploy.yml. This file has all the configurations required to setup Github Actions in our project. This folder must be present in your poject to successfully setup Github Actions. You can add it manually if you dont have it in your project. Below are the contents of the deploy.yaml file
To set up Github Actions, we need a secret token that uniquely identifies our satellite. Github needs this secret token to associate our repo to the satellite.
Visit juno console, and select myBlogSatellite satellite.
Under the controllers tab, click add controller
Select 'Genetate new controller' and select 'Read-write' as the scope.
Click submit.
Once the new controller is generated, it will provide a secret token, copy and store the secret token.
The above code established the required connection to our remote Github repo, and pushes all our project code to that repo.Now every time we make changes to our project, all we have to do is push these changes to our github repo and they will be deployed to our satellite automatically. Learn more about setting up Github Actions with Juno
Now that we have successfully hosted our blog website on the blockchain, you can go ahead and add more articles to the blog to showcase your skills. You can also add more features on the website to make it more robust.
In this article, we have looked at how to create a boilerplate template project using juno, how to create a satellite from the juno console, writing code for our project, how to connect the satellite to the our local project, deploying our project to the satellite and configuring Github Actions to automate compiling and deployment tasks for our project
👋
Stay connected with Juno by following us on Twitter to keep up with our latest updates.
And if you made it this far, we’d love to have you join the Juno community on Discord. 😉
As a frontend JavaScript developer stepping into the decentralized web, you may have encountered numerous solutions for Web3 development. However, these solutions often focus on wallet integration and transaction execution, creating a learning curve and deviating from the familiar Web2 development experience.
But fear not! There's a solution that bridges the gap between Web2 and Web3 seamlessly - Juno.
In this blog post, we will explore how to leverage the power of Vue and Juno to develop decentralized applications (dApps). By combining these technologies, you'll discover a user-friendly and efficient approach to building powerful dApps that harness the potential of Web3. Join us on this journey as we unveil the secrets of Juno and empower you to create remarkable decentralized experiences with ease!
There are various Web3 development solutions with unique advantages and limitations. If you are a frontend JavaScript developer seeking to build on the decentralized web, you may find it challenging to navigate. Fortunately, Juno provides a unique approach that combines Web3 power with the ease and familiarity of Web2 development.
After exploring how to combine React and Juno to develop a dApp in a previous blog post, we are now going to take a look at how to develop an Angular app on blockchain.
So, let’s dive in and discover how you can build powerful and user-friendly decentralized applications with Angular!
There are numerous solutions available for building on Web3, each with their own unique advantages and limitations, but most are often related to connecting wallets and executing transactions. However, if you are a frontend JavaScript developer looking to build on the decentralized web, you may have found that the development experience can be quite different from the familiar world of Web2.
That’s why Juno takes a different approach, aiming to harness the power of Web3 without sacrificing the ease and familiarity of Web2 development.
In this blog post, we’ll explore how to combine React and Juno to develop a dApp. So, let’s dive in and discover how Juno can help you build powerful and user-friendly decentralized applications!