GitHub Actions
You can leverage the Juno CLI to perform tasks within GitHub Actions.
This guide shows you how to use the junobuild/juno-action to deploy your frontend assets, build and publish serverless functions, and optionally upgrade your WASM container.
1. Configure your project
If you already have a juno.config file at the root of your project, you can skip to the next chapter. Otherwise, you need to create one manually or by running:
npx @junobuild/cli init --minimal
The configuration file can be a TypeScript, JavaScript, or JSON file (juno.config.ts, juno.config.js|.mjs, or juno.config.json), depending on your preference.
At a minimum, the configuration file must include the following:
- Satellite ID: A unique identifier for your Satellite.
- Source: The directory containing the built assets for your Satellite. This is typically the output folder of your build process, generated after running a command like
npm run build.
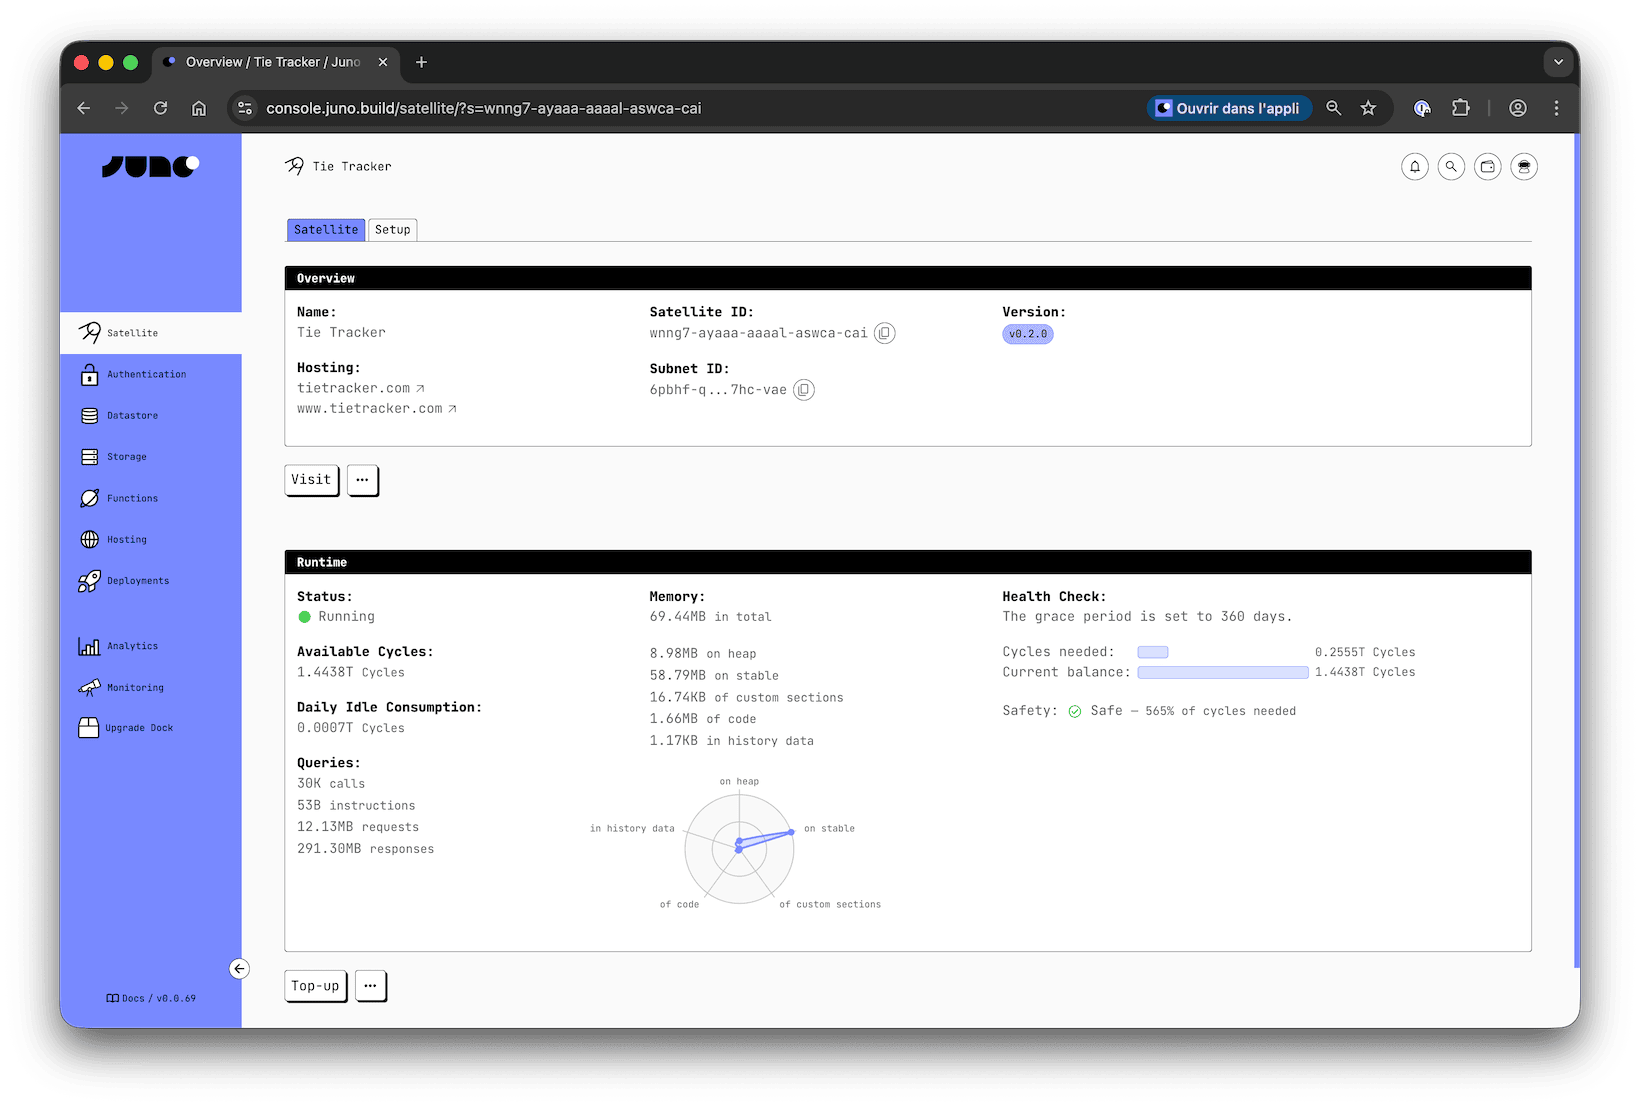
Satellite ID
Your Satellite ID can be found in the 'Overview' tab.
Source
Commonly, or if you are using the templates, these are the folders that can be set as the source field:
| Framework | Source |
|---|---|
| Next.js | out |
| React, Astro, or Vue | dist |
| SvelteKit | build |
| Angular | dist/<your-project-name>/browser |
Configuration File Example
Here’s an example of configuration file:
import { defineConfig } from "@junobuild/config";

export default defineConfig({
  satellite: {
    ids: {
      production: "qsgjb-riaaa-aaaaa-aaaga-cai" // Replace with your satellite ID
    },
    hosting: {
      source: "dist", // Replace with your build output directory
      predeploy: ["npm run build"] // Adjust based on your package manager
    }
  }
});
For detailed information about all available configuration options, refer to the configuration section.
2. Connect Your Repository
By default, your Satellite does not accept any deployments from unknown source. To enable automation from GitHub Actions, you need to authorize which repositories are allowed to trigger them.
Using the Console
- Go to the Juno Console.
- Select your Satellite.
- Navigate to the Deployments tab.
- Click Connect repository and follow the steps to register your repository and, optionally, restrict deployments to specific references.
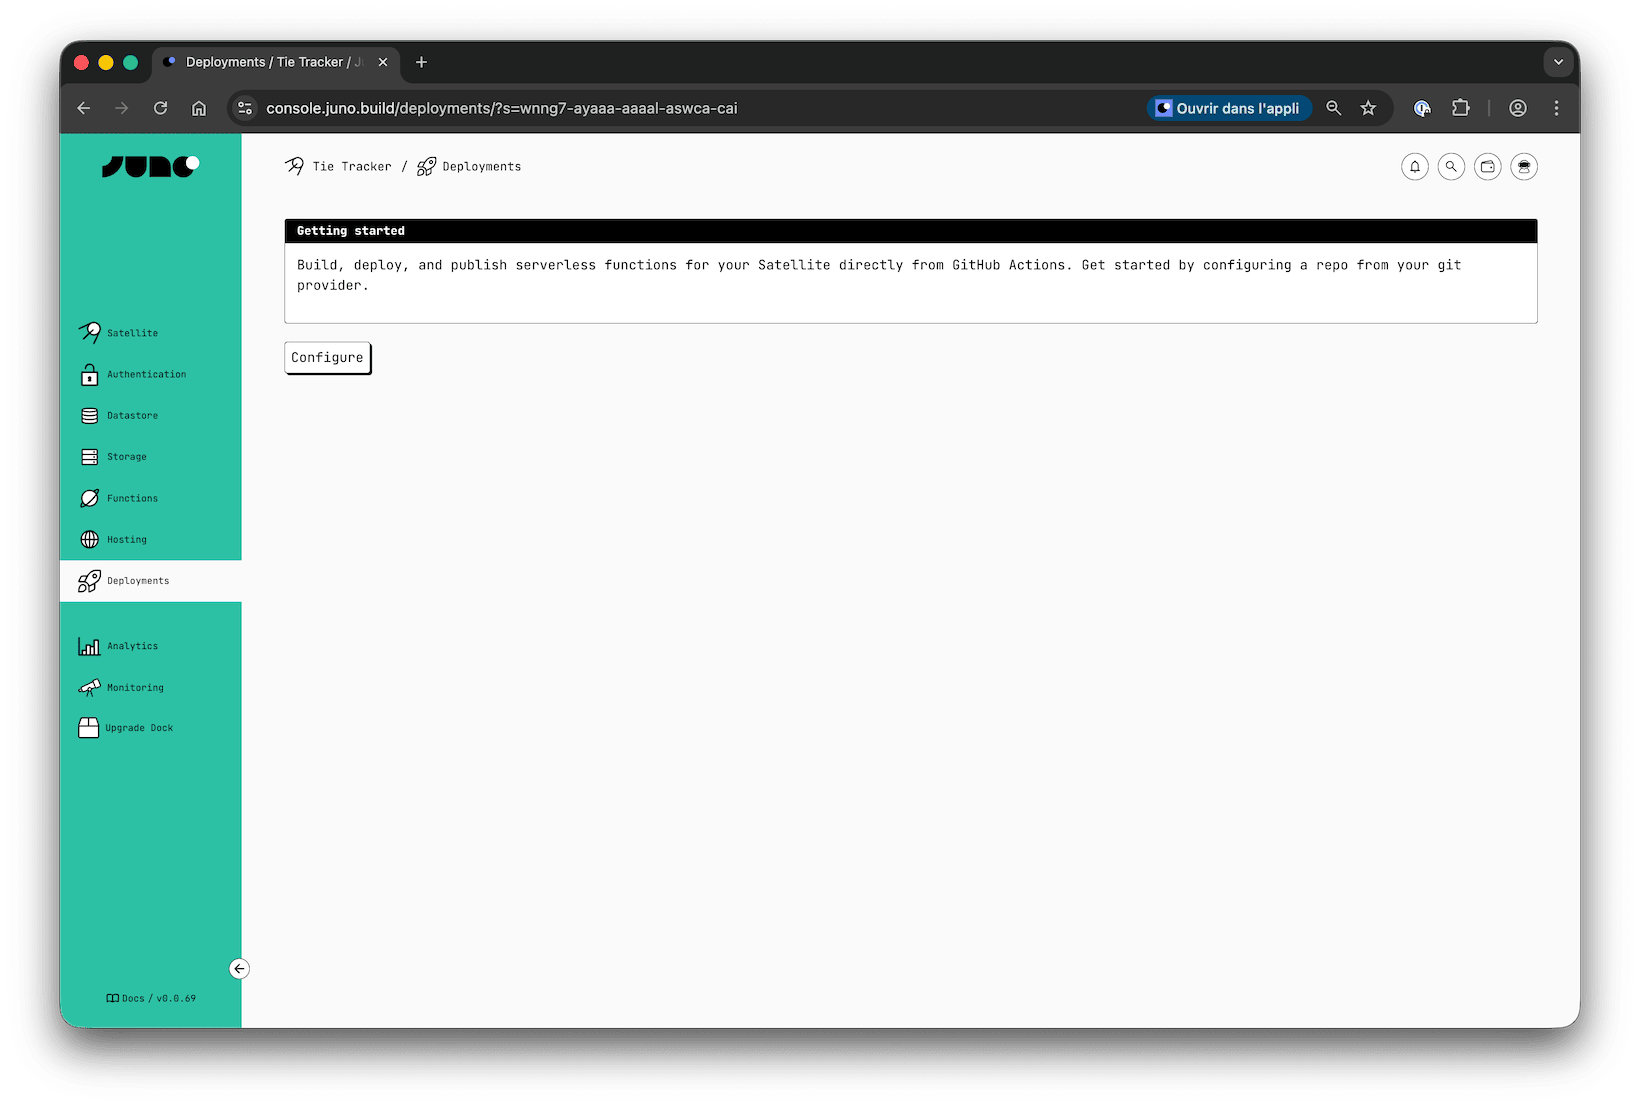
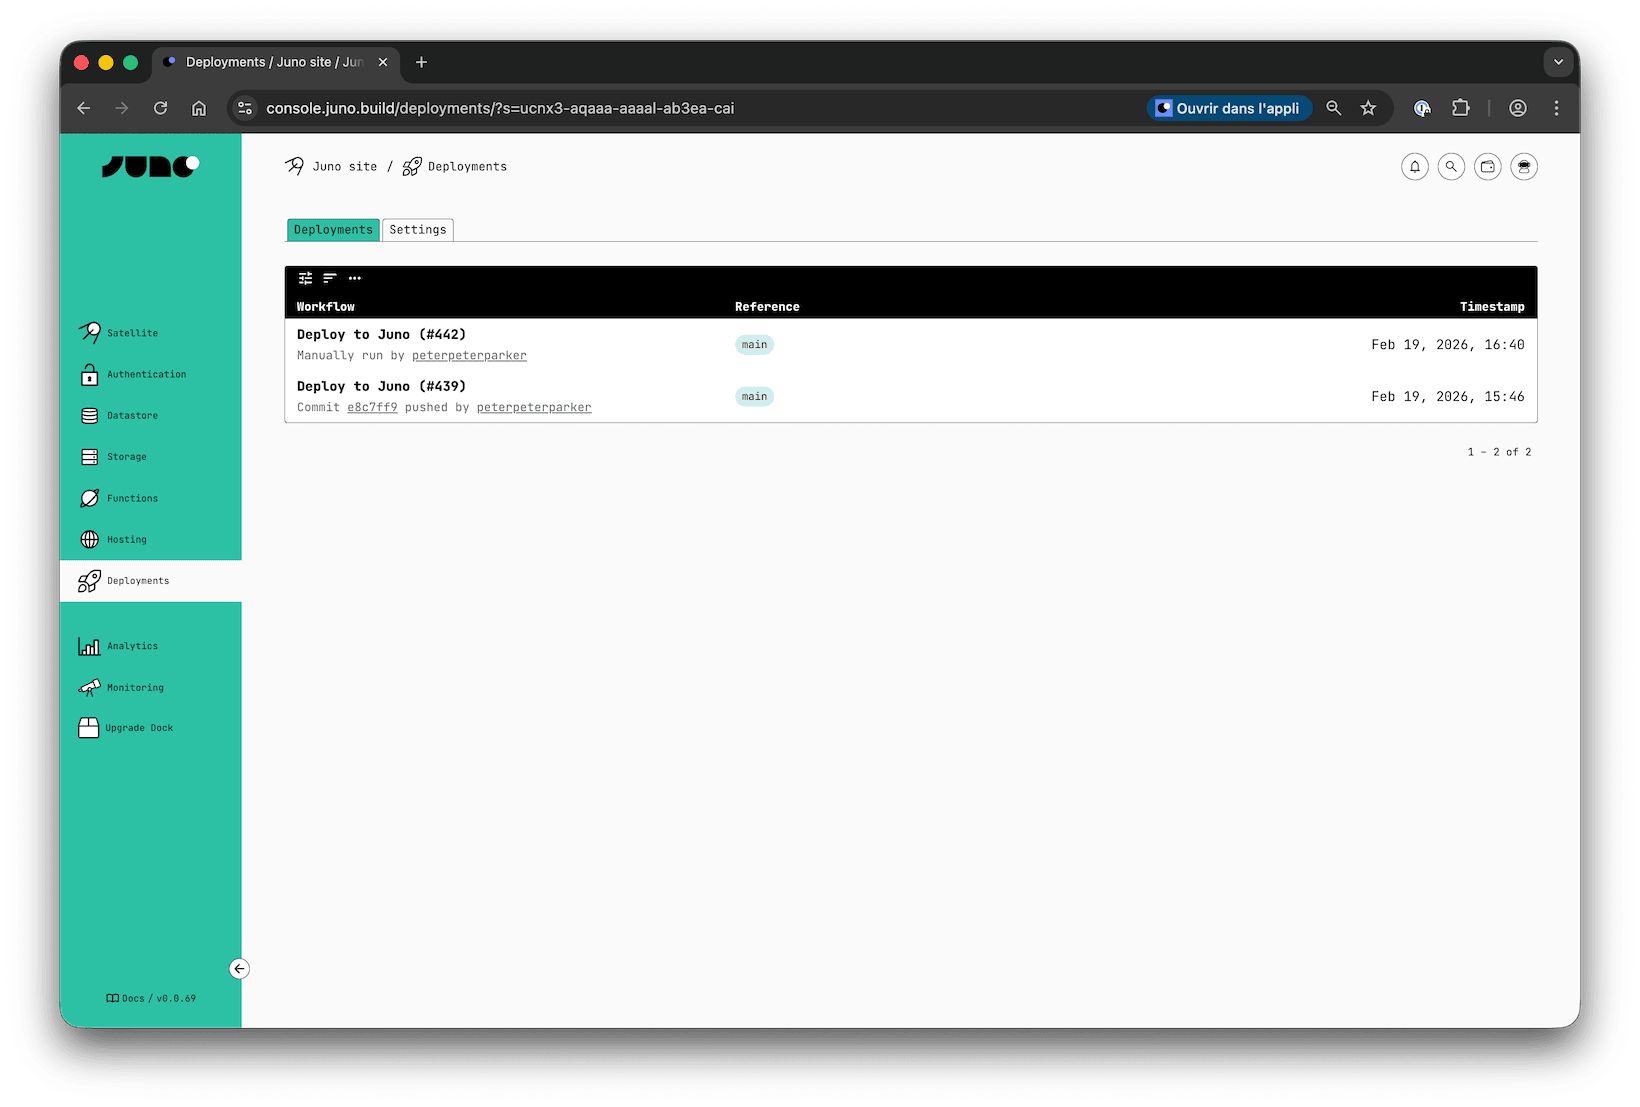
Once configured, the Console will start displaying your future deployments from GitHub Actions.
Using the CLI
You can also configure automation via the CLI. Refer to the CLI configuration documentation for details.
Juno uses GitHub's OpenID Connect (OIDC) to authenticate your workflows without requiring any secret tokens. GitHub automatically generates short-lived tokens for each workflow run, which Juno verifies to authorize deployments.
The duration (up to one hour) and role of those short-lived tokens can also be configured.
3. Create the GitHub Action
You can use GitHub Actions to automate different parts of your Juno deployment workflow:
- 🪄 Deploy frontend assets to your Satellite. Learn how.
- 🛠️ Build and publish serverless functions (TypeScript or Rust). Learn how.
- ⚠️ Optionally upgrade your Satellite's WASM container. Learn how.
Each task can be performed independently or combined, depending on your project setup.
Environment Variables
When using the Actions, you can configure the following environment variables:
| Environment Variable | Mandatory | Description |
|---|---|---|
PROJECT_PATH | No | The path to the folder containing the juno.config file if it doesn't exist at the root of your repository. e.g. ./my-app-subfolder. |